quick answer
Measure the open space around the pipes first, then use pieces that work with them: a U-shaped or wraparound shelf, stackable bins with handles, and a tension rod for spray bottles. Sort items by job, keep bleach apart from other cleaners, and add a latch if you have pets or kids.
Level: easy
You will need: tape measure, U-shaped under-sink shelf, clear stackable bins, tension rod, adhesive hooks, adhesive cabinet latch
The cabinet under the sink is one of the hardest spots in a small kitchen. A drain pipe runs down the middle, the shape is odd, and bottles tip over every time you reach in. Good under sink organization ideas have to work around the plumbing, not pretend it is not there.
Below are nine ways to use that space better, and most need no drilling. You will get steps for measuring, sorting and stacking, plus simple ways to handle leaks and keep cleaners away from pets and kids.
in this guide
- Start your under sink organization with a pipe map
- Sort by job, and keep bleach away from other cleaners
- Use a U-shaped shelf that wraps around the drain
- Turn stackable bins into pull-out drawers
- Hang spray bottles from a tension rod
- Use the inside of the door for small things
- Keep a carry caddy for the things you use daily
- Protect the floor and watch for leaks
- Latch the cabinet if you have pets or small children
Start your under sink organization with a pipe map
Before you buy anything, empty the cabinet and look at what is really there. Note where the drain pipe, the water supply lines, the shutoff valves and any garbage disposal sit. These are the parts you must work around, and you need to reach the valves quickly.
Measure the width and depth of the open floor on each side of the pipes. Then measure the height from the floor to the underside of the sink, and the height of the door opening. Base cabinets are usually about 24 inches deep, but the sink bowl and pipes often take a lot of that.
Write the numbers on your phone or a sticky note. Check them against every product before you buy it.
Sort by job, and keep bleach away from other cleaners
Take everything out and group it by what it does: dishes, surface cleaning, trash and sink care, and backup supplies. Set aside empty bottles, dried-out sponges and anything you have not touched in a year. Most cabinets end up with a few duplicates.
Do not pour old cleaners down the drain or combine them to get rid of them. Check the label and your local household hazardous waste rules for anything you no longer want.
Keep bleach on its own side of the cabinet, upright and with the cap tight. Never mix bleach with other cleaners, especially ones with ammonia or acids. Storing them in separate spots makes a mix-up less likely.
Keep products in their original labeled bottles so you always know what is inside.
Learn more: CDC: How to Safely Clean and Sanitize with Bleach
Use a U-shaped shelf that wraps around the drain
A U-shaped or wraparound shelf has a cutout in the back, so it straddles the drain pipe. It adds a second level above the floor, so you can store things on top and below.
Measure the width of the pipe zone and the height you can spare, then match those numbers to the shelf. Leave enough room to slide it out and to reach the shutoff valves. Many styles are freestanding and sit on the cabinet floor with no screws.
Put lighter, daily items on top and heavier jugs on the floor underneath. Make sure the shelf sits level and does not wobble.
Shop the idea: U-shaped under-sink shelf on Amazon (for example, Simple Houseware or mDesign)
snug tip
Before buying a shelf, hold a tape measure against the pipe cutout area and check you can still reach the shutoff valves.
Turn stackable bins into pull-out drawers
Bins with handles work like drawers in a cabinet that has none. You pull the whole bin forward instead of reaching into the back with your arm bent around a pipe.
Pick one bin per group from your sort: sponges and brushes, dish soap refills, trash bags, and so on. Choose bins that are shorter than your door opening and narrow enough to fit beside the pipes. Clear bins help you see what is inside without lifting the lid.
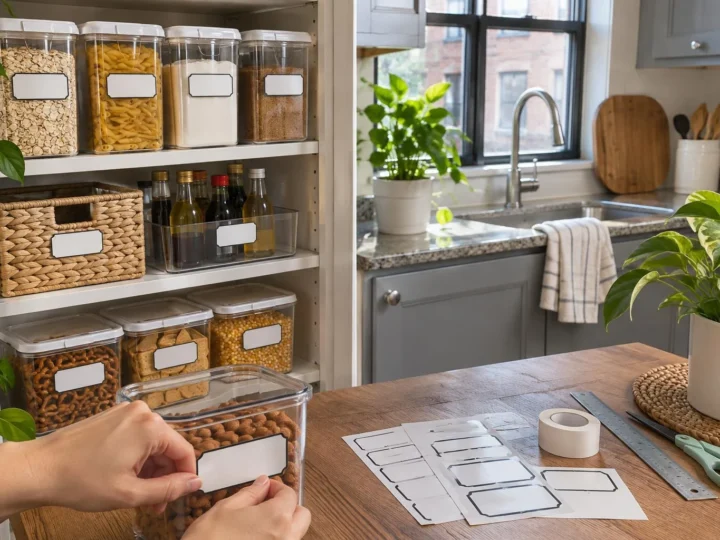
Add a label on the front so everyone in the home puts things back in the right bin. Printable labels work well here.
Shop the idea: clear stackable bins on Amazon (for example, Sterilite or mDesign)
Hang spray bottles from a tension rod
Spray bottles take up floor space and tip over easily. A tension rod across the cabinet lets you hang them by their triggers, which frees the floor for bins and jugs.

Mount the rod between the side walls, in front of or above the pipes, so the bottles hang clear of the drain and the valves. Twist it just until it holds, because overtightening can dent or crack thin cabinet sides.
Check the weight limit on the package. Full bottles are heavier than they look, so start with two or three and see if the rod holds.
Shop the idea: tension rod on Amazon (for example, Kenney)
Renter note: Tension rods grip with pressure, not screws, so they leave no holes. Look for rubber tips, do not overtighten against thin or laminate cabinet sides, and stay under the weight limit on the package.
Use the inside of the door for small things
The inside of the cabinet door is free space. It is a good home for rubber gloves, a dish brush, a roll of bags or a small basket for scrubbers.
Check that the door still closes when something is mounted on it. Hold items against the door, close it slowly and look for clearance around the pipes, the shelf and any bins. Measure the depth of anything you hang there.
Use removable adhesive hooks, or a hanging rack that hooks over the door edge if there is room for it to clear the frame. Keep it to light items, because heavy things can pull the adhesive loose.
Renter note: Adhesive hooks have weight limits and can lift paint or veneer on some doors. Test one in a hidden spot, wipe the door with rubbing alcohol and let it dry, and follow the package steps to remove them. A damp cabinet can weaken the hold.
Keep a carry caddy for the things you use daily
You probably reach for just a few products every day, like dish soap, a sponge and a spray. Put those in a small caddy with a handle, and keep it at the front of the cabinet.
You can lift it out, set it on the counter and put it back in one move, so you reach to the back of the cabinet less often. A basket or bin you already own works if it fits.
Keep the caddy light and store only what you use every week. Backups go in a bin farther back.
Protect the floor and watch for leaks
Under a sink is damp. A small drip can hide behind bottles for weeks. Cut a waterproof liner or a washable mat to fit the cabinet floor, around the pipes. A shallow tray with a lip can catch spills and keep bottles from sitting in water.
Once a month, take everything off the floor and run a dry paper towel along the pipes and connections. If it comes away wet, tell your landlord or call a plumber. Do not wait. If water is actively dripping, close the shutoff valves under the sink first.
Wipe the liner when you notice a spill and let it dry fully. Leave the doors open for a few minutes if the cabinet feels humid.
Renter note: A loose liner needs no adhesive, so it lifts out without damaging the cabinet. If you spot a leak, tell your landlord, since repairs are usually theirs.
snug tip
Put a small reminder in your phone to do the dry paper towel leak check on the first of each month.
Latch the cabinet if you have pets or small children
Cleaners, laundry pods and drain products can harm pets and children. Store them in a high cabinet if you can. If the sink cabinet is the only spot, add a latch so a curious nose or hand cannot open the door.
Many latches stick on with adhesive and need no drilling. Clean the surface, press the latch on firmly, and let the adhesive set as the package says. Test it before you fill the cabinet.
Keep pods in a closed container with a tight lid, up high if possible. If a pet or child gets into something, call your vet, an animal poison control line or Poison Control right away.
Learn more: ASPCA: Poisonous Household Products
Shop the idea: adhesive cabinet latch on Amazon (for example, Safety 1st or Munchkin)
Renter note: Check your lease before drilling. An adhesive latch usually avoids that question, but test it on a hidden spot first, since adhesive can lift paint or veneer when removed.
from our shop

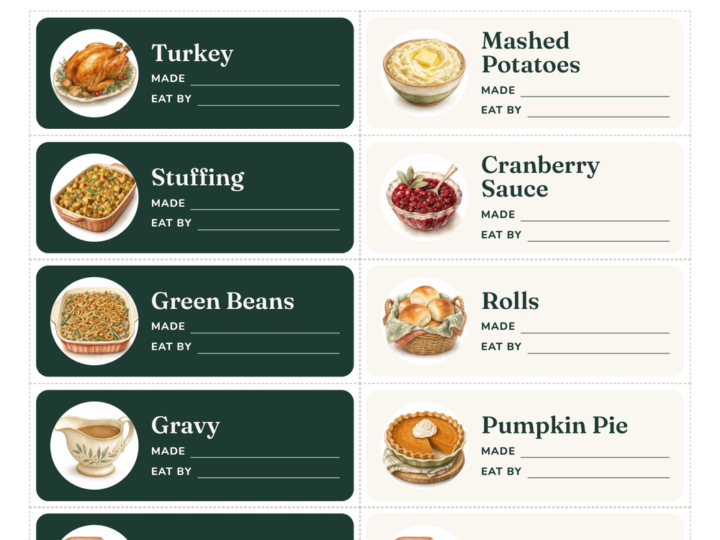
Prefer vinyl labels? If you own a cutting machine such as a Cricut or Silhouette, we made a set of 70 pantry, baking and spice label words as cut files (SVG, DXF and PNG) in three styles.
Made by us · sold on Creative Fabrica · affiliate link
Where to start
This weekend, empty the cabinet, wipe it down and set aside anything empty or expired, following the label and local rules for disposal. Then measure the open spaces on each side of the pipes and write the numbers down.
Next, sort what is left into groups, keep bleach on its own side, and set the daily items in a caddy at the front. Buy shelves, bins or a latch only after that, so you buy what actually fits.
free printable checklist
Under-Sink Organizing Checklist
9 steps. Tick them off as you go (your ticks stay on this device), or print it and keep it where you do the job.
The Snug Nook · thesnugnook.com
Quick answers
How do I organize under the sink with a garbage disposal?
Measure the space around the disposal and use shelves with a cutout or short bins that fit beside it. A tension rod at the front still works for spray bottles. Leave the disposal and its connections easy to see and reach.
How do I keep under the sink from smelling musty?
Find and fix leaks first, then wipe the cabinet floor and let it dry fully. A washable liner or tray helps catch spills. Leave the doors open for a while after wiping, and do not store wet sponges or damp cloths inside.
What can I use under the sink instead of drilling?
Freestanding U-shaped shelves, stackable bins, tension rods and removable adhesive hooks all work without screws. Keep loads within the weight limits on each package. If you do want to drill, check your lease first.
free for subscribers
Pantry labels that make it stick
Print, cut, stick. Plus occasional small-space tips. Unsubscribe anytime.