quick answer
Empty the shelves, check dates and toss spoiled food, wipe the shelves dry, sort food into zones, then put it back in containers that fit your measurements. A small pantry takes one weekend. Finish by labeling shelves and moving cleaners, laundry pods and pet items to a spot kids and pets cannot reach.
Time: one weekend · Level: easy
You will need: airtight containers, shelf risers, over-the-door rack, trash bag, damp cloth, masking tape and marker
Most pantries do not get messy all at once. Food gets pushed to the back, a second jar of cumin shows up, and soon you cannot find the pasta. A checklist gives you an order to follow, so you are not standing at an open door with no idea where to start.
This plan fits into one weekend and works for a small pantry, a kitchen cabinet or a freestanding shelf. It has nine steps, from emptying the shelves to setting up a safe spot for cleaners and pet items. The steps need no drilling.
in this guide
- Block out the weekend and set up a landing zone
- Empty one shelf at a time, or all of it if the pantry is tiny
- Check dates and toss spoiled food
- Wipe the shelves and let them dry
- Sort food into zones before it goes back
- Move opened dry goods into airtight containers
- Add height with shelf risers
- Use the back of the door with a hanging rack
- Set up a safe spot for cleaners, pet items and laundry pods
Block out the weekend and set up a landing zone
Split the reset into two days. On Saturday, empty the pantry, check dates, wipe the shelves and put the food back sorted into zones. On Sunday, add containers, risers, a door rack and labels, and set up the spot for cleaners and pet items. This way the pantry is never left bare overnight.
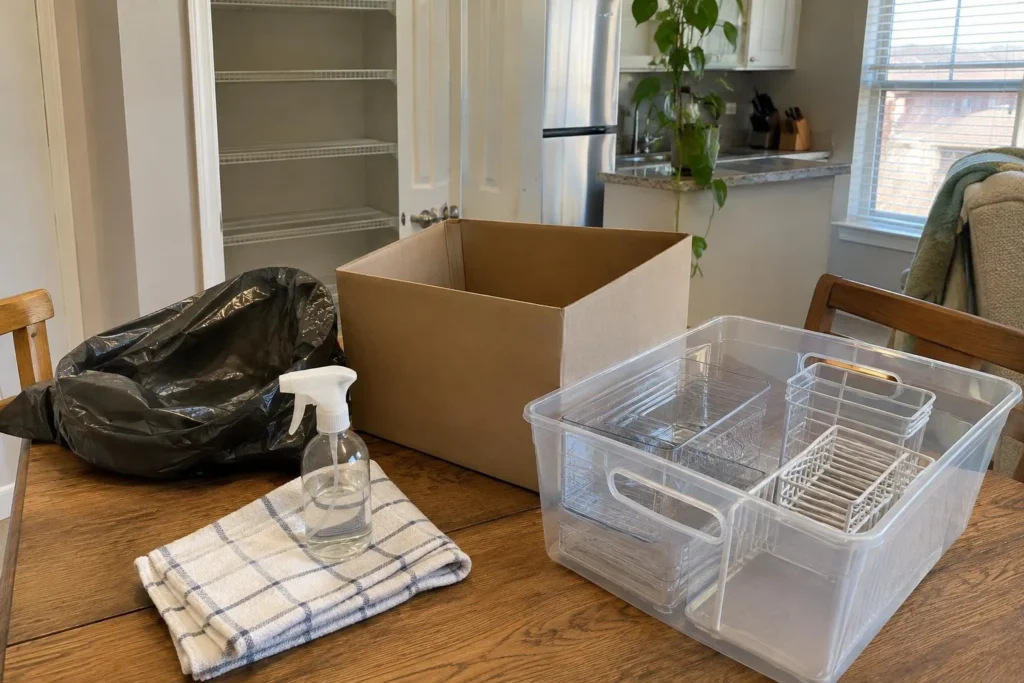
Clear a table or counter first. Set out a trash bag, a box for donations, a bowl for things to use up this week, and a damp cloth.
Measure each shelf before you buy anything. Write down the width, the depth and the height between shelves. Those numbers decide which bins and risers will fit.
Empty one shelf at a time, or all of it if the pantry is tiny
Pulling everything out shows you what you own, including duplicates and food you forgot about.
If your pantry is deep or crowded, work one shelf at a time so the counter does not fill up. If it is small, take everything out at once.
As each item comes off the shelf, put it in a loose pile by type: baking, snacks, cans, breakfast, pasta and grains.
Check dates and toss spoiled food
Look at every package for a date and for signs of trouble. Toss cans that are bulging or leaking, and anything that smells off, looks different or has been open too long.
Date labels can be confusing, and many are about quality rather than safety. When you are unsure, look the food up in a storage guide that lists pantry, fridge and freezer times.
Put unopened, in-date food you know you will not eat in the donation box. Put food you should use soon in the use-first bowl.
Learn more: USDA FoodKeeper
snug tip
Keep a small bowl or bin labeled “use first” near the front of the pantry for anything close to its date.
Wipe the shelves and let them dry
With the shelves bare, wipe up crumbs, sticky rings and spilled grains. Warm water and a little dish soap is usually enough for painted wood, wire and laminate.
Let the shelves dry fully before anything goes back. Damp shelves can leave marks on cardboard boxes and bags.
If you also use a disinfectant, use one product at a time and follow the label, including any rinse step for surfaces that touch food. Never mix cleaning products. Bleach mixed with ammonia or with acids such as vinegar gives off toxic gas.
Learn more: CDC: How to Safely Clean and Sanitize with Bleach
Sort food into zones before it goes back
A zone is a group of items that live together: breakfast, baking, pasta and grains, cans, snacks, and oils and sauces.
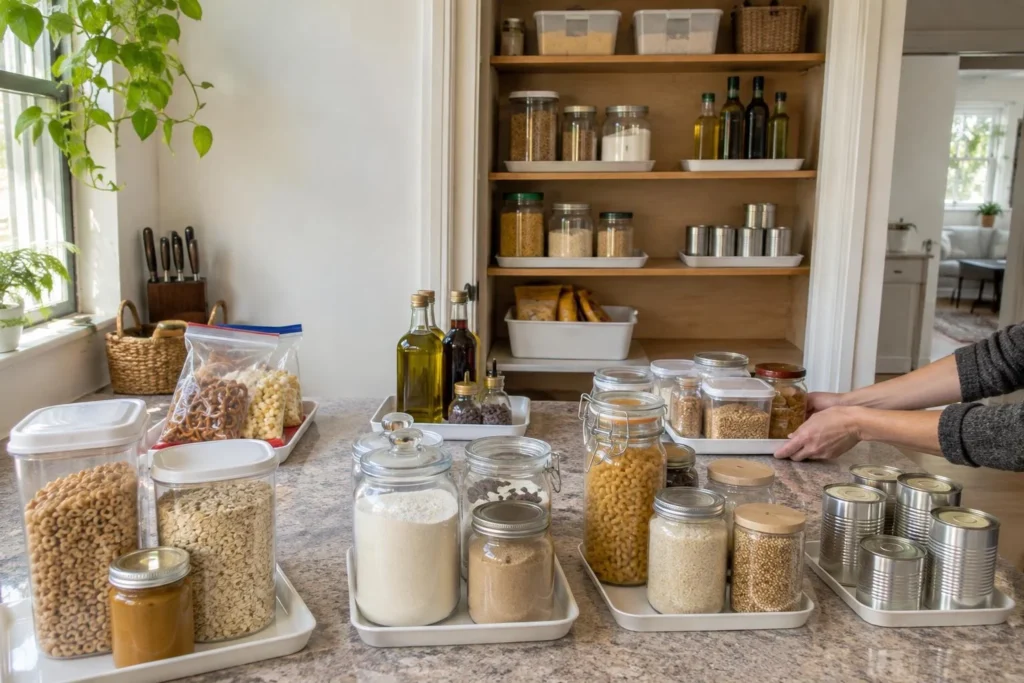
Put the things you reach for every day at eye level or on the front of a lower shelf. Keep heavy items low and light, rarely used ones up high.
Do a dry run on the counter first. Set each group on a tray or lid to see how much space it needs, then compare that to the shelf measurements you wrote down.
Move opened dry goods into airtight containers
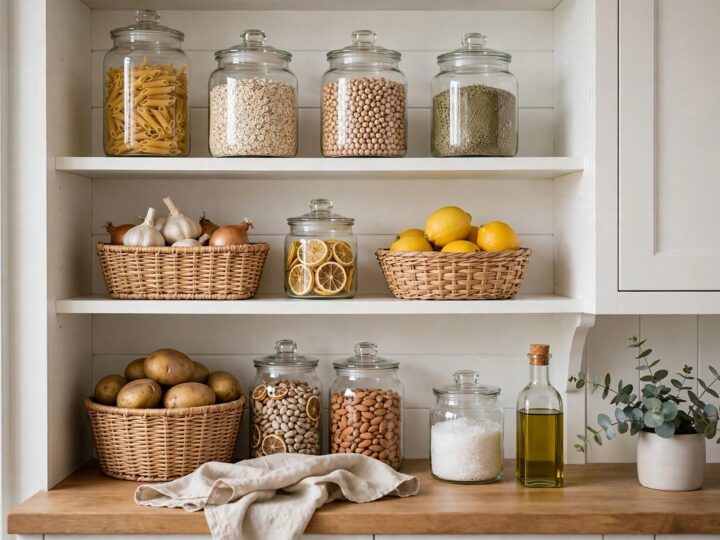
Open bags of flour, rice, cereal and snacks take up odd amounts of space and tip over easily. Square or rectangular airtight containers stack neatly and waste less space than round ones.
Only decant what you will use soon. Keep a small piece of the original label, or write the contents and the date on a strip of tape, so you still know what it is and how long it has been open.
Make sure containers are clean and dry before filling. Store them in a cool, dry spot away from the stove and sunny windows.
Learn more: FDA: Are You Storing Food Safely?
Shop the idea: airtight pantry containers on Amazon (for example, OXO or Rubbermaid)
Add height with shelf risers
Most pantry shelves have a lot of empty air above the cans. A small riser or step shelf lifts the back row so you can see every label.
Measure the gap between shelves and choose a riser that leaves room to lift items out. Use it for cans, spice jars and sauces.
Check the riser’s weight limit, then test it with items on top before you fill the shelf. A riser that wobbles or sticks out past the shelf edge will not last.
Shop the idea: expandable shelf risers on Amazon (for example, mDesign or Rubbermaid)
snug tip
A tall freestanding shelf can tip if kids or pets climb it. Anchoring it usually means screwing a strap into the wall, so ask your landlord first. Until then, keep heavy items on the bottom shelves.
Use the back of the door with a hanging rack
The back of the pantry door is free space. An over-the-door rack holds spices, foil, bags and small snacks without a single screw.
Check that the door still closes with the rack on. Measure the door thickness and the gap at the top, since most racks hook over the edge and need some clearance.
Keep the load light. Check the weight limit on the packaging and put the heaviest items in the bottom baskets.
Shop the idea: over-the-door pantry rack on Amazon (for example, Simple Houseware or mDesign)
Renter note: An over-the-door rack needs no drilling, but check that the hooks do not scratch the door or frame. Add felt pads to bare metal hooks if needed.
Set up a safe spot for cleaners, pet items and laundry pods
If your pantry shares space with cleaners, pet treats or laundry supplies, separate them now. Keep cleaning products in a closed bin on a shelf below the food, so a leak cannot drip onto it. If pets or kids can open the door, add a child-safety latch.
Store laundry pods in a closed container, high up and out of reach of kids and pets. Keep cleaners in their original bottles with the labels on, and keep pet treats in a sealed container.
If a pet gets into something, call your vet or a pet poison hotline right away and keep the product label handy.
Learn more: ASPCA: Poisonous Household Products
Renter note: Choose a latch with removable adhesive or a strap style, and check that the packaging says it is safe for painted surfaces. Drilled latches can leave holes you may be charged for.
from our shop

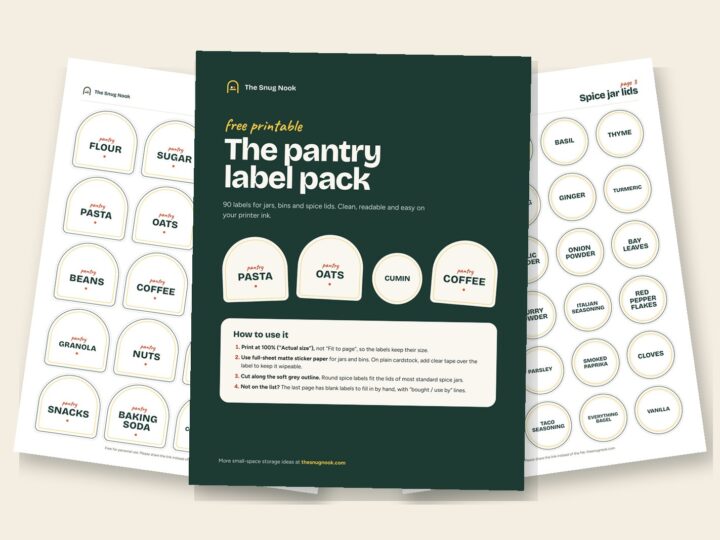
Prefer vinyl labels? If you own a cutting machine such as a Cricut or Silhouette, we made a set of 70 pantry, baking and spice label words as cut files (SVG, DXF and PNG) in three styles.
Made by us · sold on Creative Fabrica · affiliate link
Where to start
Start with one shelf. Empty it, check the dates on everything from it and wipe it clean. Then measure all your shelves and write the numbers down before you buy anything.
Once the food is back in zones, add containers, risers or a door rack if you need them, and label what you can. A quick date check each month keeps the pantry from sliding back.
free printable checklist
Weekend Pantry Reset Checklist
9 steps. Tick them off as you go (your ticks stay on this device), or print it and keep it where you do the job.
The Snug Nook · thesnugnook.com
Quick answers
How long does a pantry reset take?
It depends on how much food you have and how big the pantry is. A small pantry or cabinet often fits into one weekend. If that feels like too much, do one shelf per evening instead.
How often should I reset my pantry?
A quick date check once a month and a full reset once or twice a year is enough for most kitchens. Moving, a big grocery stock-up or a new pet are also good times to do one.
What should I do with food I will not eat?
Unopened, in-date, non-perishable food can often go to a local food pantry. Check what they accept first. Throw out anything expired, damaged or open for too long.
free for subscribers
Pantry labels that make it stick
Print, cut, stick. Plus occasional small-space tips. Unsubscribe anytime.