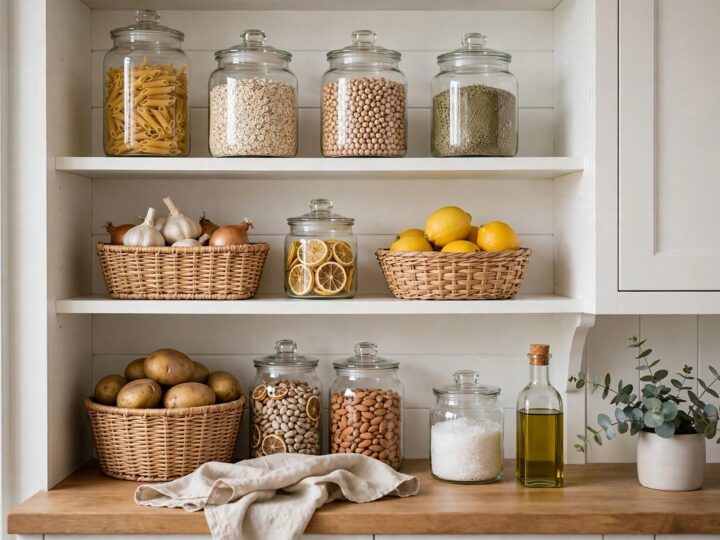
In a small pantry, a lot of things look alike. Flour and powdered sugar sit in matching jars, and the pet treats get lost behind the crackers. Printable pantry labels fix that fast, but cheap labels curl, smear, or leave sticky residue, which is a real worry when you rent.
This guide walks you through sizing, printing, sealing, and placing labels so they stay put and come off clean later. Use it with the free label pack, and you will have a pantry where everything has a name and a spot.
free label pack
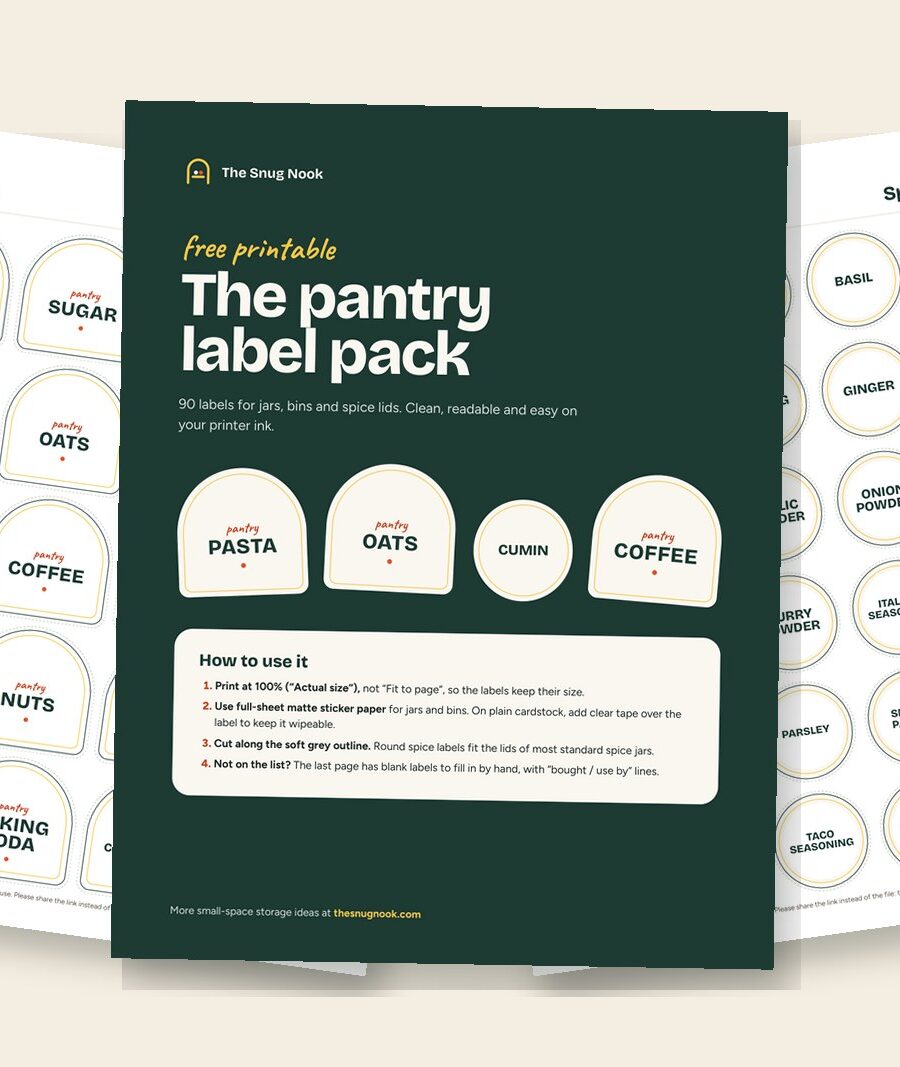
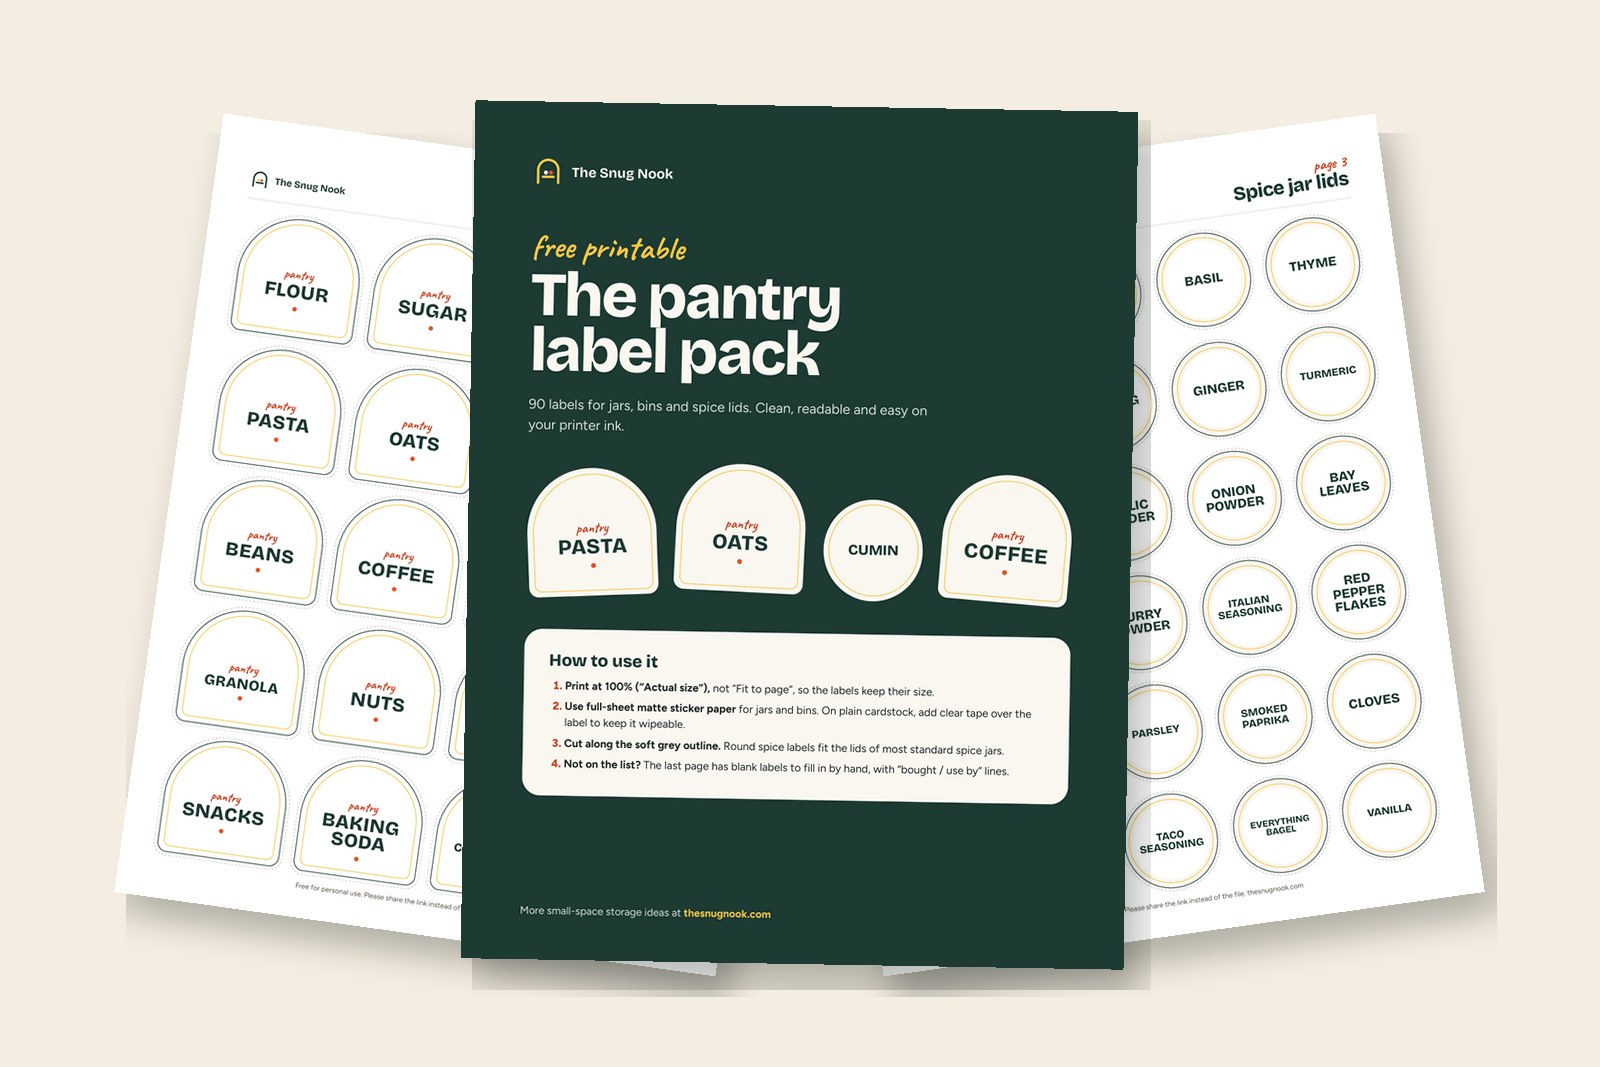
90 printable labels for jars, bins and spice lids, plus blank ones to write your own. Free for subscribers: the PDF arrives in your inbox.
new: labels with pictures
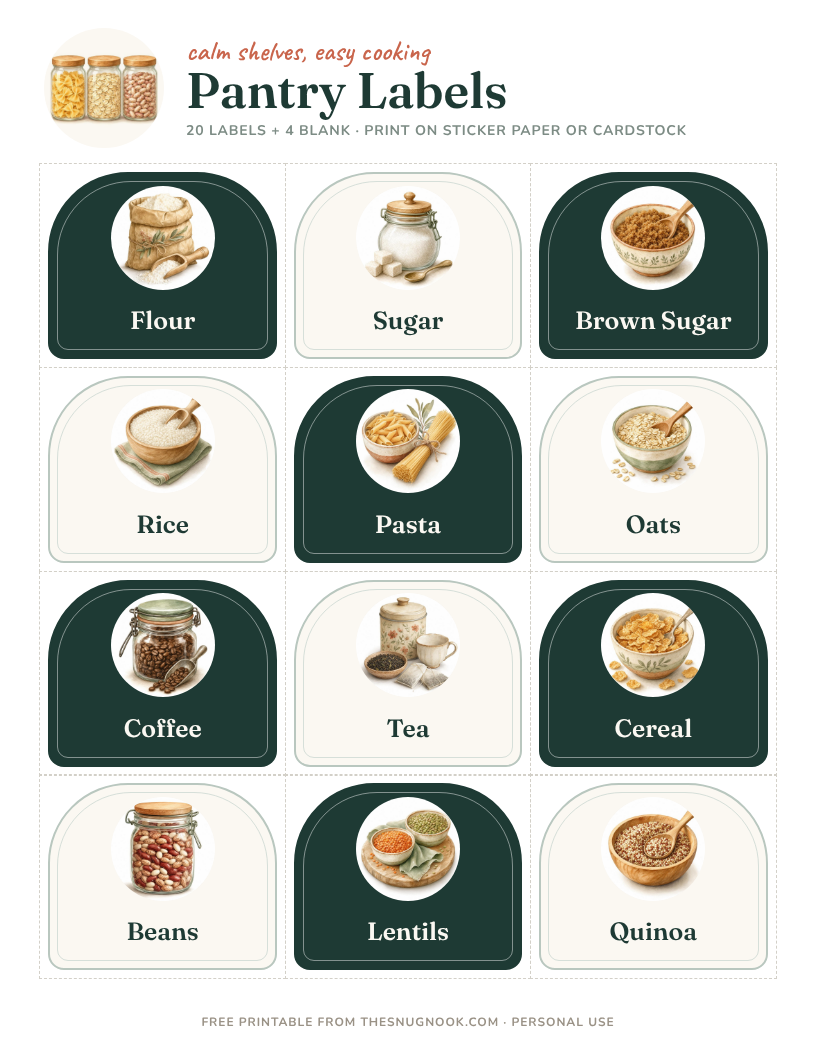
We added a second free set: 20 pantry labels with a small picture on each one, like flour, sugar, rice, pasta, oats, coffee and tea, plus 4 blank labels. The pictures help kids and guests find things fast. No email needed.
Size your printable pantry labels to your containers
Start with the container, not the label. Measure the flat area on the front of each bin, jar, or basket, both width and height. A label looks best when it leaves a little space around the edges.
Most pantries only need two or three label sizes. Use small ones for spice jars and tins, medium ones for canning jars and lidded bins, and wide ones for baskets and shelf edges.
Print one test page from the free label pack on plain paper. Hold each label up to its container before you print on anything nicer.
Choose removable sticker paper for bins and jars
Printable sticker paper lets you print, cut, and peel. Look for packs that say removable or repositionable. Permanent adhesive can leave residue on plastic, glass, and wood.
Matte paper is usually easier to read under pantry lighting, because glossy paper can glare. Check that the paper matches your printer type, inkjet or laser.
Print, let the ink dry, then cut each label out. Rounding the corners with scissors helps them lift less over time.
Shop the idea: removable sticker paper on Amazon
Renter note: Stick labels on your own containers, not on rental shelves or walls, and test one in a hidden spot first.
Seal labels so sticky fingers don’t ruin them
Pantry labels meet oil, steam, flour, and damp hands. An unsealed paper label can smudge or curl over time.
Let the ink dry fully first, especially with inkjet. Then cover each label with a clear self-laminating sheet cut just a little larger than the label, so the edges are sealed. Press from the center out to push away bubbles.
The clear border sticks to the container too, so this works best on smooth glass or plastic that you own. It can take a bit more effort to remove later. Wipe sealed labels with a dry or barely damp cloth, and skip dishwashers and soaking.
Shop the idea: clear self-laminating sheets on Amazon
Renter note: Self-laminating sheets use a strong adhesive. Keep them on your own containers and away from rental shelves, walls, and doors.
snug tip
Print one spare sheet of your labels and keep it flat in a folder. When a label wears out, you can swap it in a minute.
Label the shelf edge when your containers don’t match
Bags, boxes, and baskets in mixed shapes are hard to label one by one. Label the shelf instead. The label tells everyone where each thing goes, even when the container changes.
Clip-on label holders fit the wires of a wire shelf. Thin magnetic strips work on steel shelf lips, so check with a magnet first. On wood or laminate, use a strip of removable tape under the label.
Measure the height of the shelf lip first. Make your labels a bit shorter than that so they don’t get bumped or blocked.
Shop the idea: clip-on shelf label holders on Amazon
Renter note: Clip-on and magnetic holders need no drilling, but check the package for weight limits. Test tape on a hidden spot, since it can lift worn or flaking finishes.
Put labels where your eyes land, on the lid or the front
Where you look depends on the shelf. Low shelves and deep bins are seen from above, so the lid is the best spot. Eye-level shelves are seen head-on, so the front works better.
Pick one spot and use it on every container, such as the top left corner. Your eyes learn the pattern, and the pantry looks calmer.
Wash and dry the surface first. Oil and dust are common reasons labels peel.
Label by category, not by every single item
A small pantry changes often. If every label names a brand or a recipe, you will be reprinting all the time.
Use short category names like Pasta, Baking, Breakfast, Snacks, and Cans. Use item names only for decanted foods like flour and sugar, where the jar hides what is inside.
Empty one shelf, sort things into piles, and name each pile in one or two words. Print labels only after the piles make sense.
snug tip
Before you stick a label, tape it to the container with a bit of removable tape for a day. You will see if the spot and the wording work.
Add a write-in label for open and use-by dates
Decanted foods lose the package, and the package holds the date. A blank write-in label gives that date a home.
Use the blank labels from the free label pack. Copy the date from the original package, and follow the package guidance for how long the food keeps. Add an opened date for foods that need one.
Stick this label on the side of the jar so it doesn’t crowd the main label. Finish a jar and wash it before refilling, rather than topping up old food with new.
Give pet food and treats their own clear labels
In a home with pets, the food bin often sits near the human food. A clear label keeps guests, kids, and tired partners from scooping the wrong thing.
Label each bin with the pet’s name and what is inside, like Dry Food or Treats. If you want, add a line for the scoop amount from the bag or your vet.
Keep pet food in a bin with a tight lid, stored apart from your own food, and put the label on the lid and the front. Leaving the food in its original bag inside the bin keeps the best-by date handy. Make sure the bin sits where your pet can’t pop the lid.
Post a pantry map inside the door with removable tape
A one-page map lists what lives on each shelf. It helps roommates, guests, and sitters put things back in the right place.
Make it from the category names you already chose. Print it, then hang it on the inside of the pantry door.
Use low-tack removable tape or a removable adhesive hook with a small clip. Paper is light, but check the package for weight limits.
Renter note: Painted doors can peel when tape comes off, so test a small piece in a hidden spot and check your lease before using anything stronger.
from our shop

Prefer vinyl labels? If you own a cutting machine such as a Cricut or Silhouette, we made a set of 70 pantry, baking and spice label words as cut files (SVG, DXF and PNG) in three styles.
Made by us · sold on Creative Fabrica · affiliate link
Where to start
This weekend, empty one shelf and sort what is on it into categories. Measure the flat front of your containers and write the sizes down.
Next, print a test page from the free label pack on plain paper. Tape the labels on with removable tape, then print the keepers on removable sticker paper and seal them.
Quick answers
What is the best paper for printable pantry labels?
Matte removable sticker paper is usually the easiest, since you print, cut, and peel. Plain paper with clear tape also works on a budget, but tape can leave more residue. Make sure the paper matches your printer, inkjet or laser.
Will pantry labels leave sticky residue?
Removable labels usually peel off clean, but plastic, glass, and wood can all react differently. Test one label in a hidden spot first. If residue stays, rub it with a little cooking oil, then wash with warm soapy water.
How big should pantry labels be?
Measure the flat area on each container and leave a little space around the edges. Spice jars need smaller labels than bins and baskets. A test print on plain paper shows you the right size before you use sticker paper.
free for subscribers
Pantry labels that make it stick
Print, cut, stick. Plus occasional small-space tips. Unsubscribe anytime.